

Overview
Check out this video for a quick overview of setting up IrisAgent on Zendesk.Connect Zendesk to IrisAgent
- Go to the IrisAgent Dashboard and sign in with Google, Microsoft, or Okta SSO.
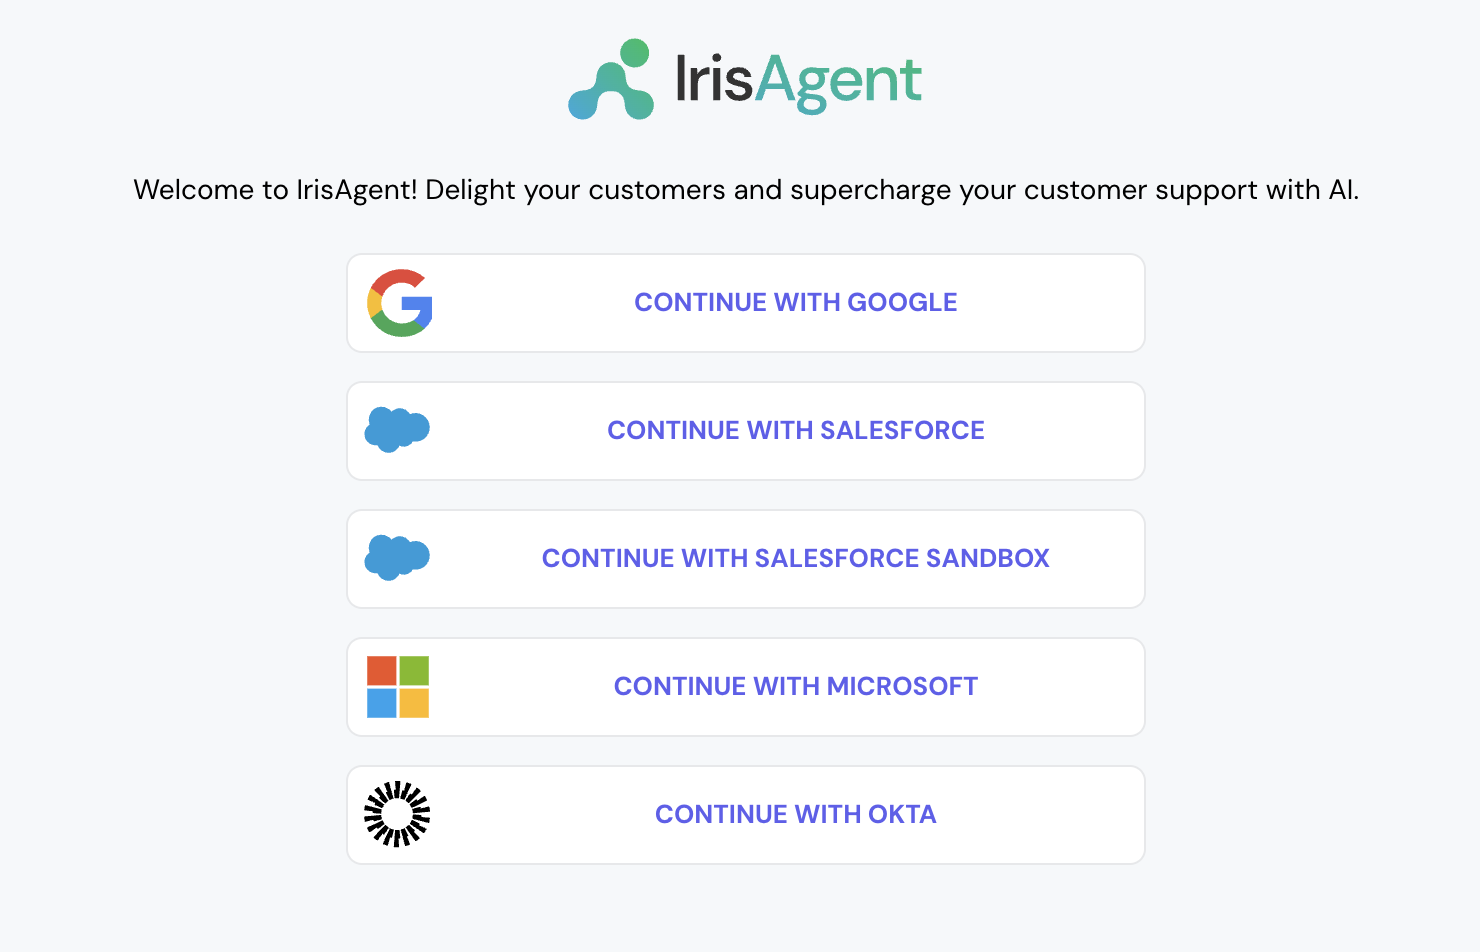
- Choose Zendesk as your ticket source:
- During onboarding: on the Connect your first data source step, choose Ticketing system, then pick Zendesk.
- Later, or to add Zendesk alongside an existing source: go to Data Sources → Ticketing System in the left navigation and pick Zendesk.
- Give the OAuth permissions and click on Allow. This will automatically connect with both Zendesk tickets and Zendesk Guide/Knowledge.
- To connect more platforms later, such as Jira, Confluence, or Salesforce, go to Data Sources in the left navigation and open the relevant section.
Install IrisAgent app into your Zendesk account
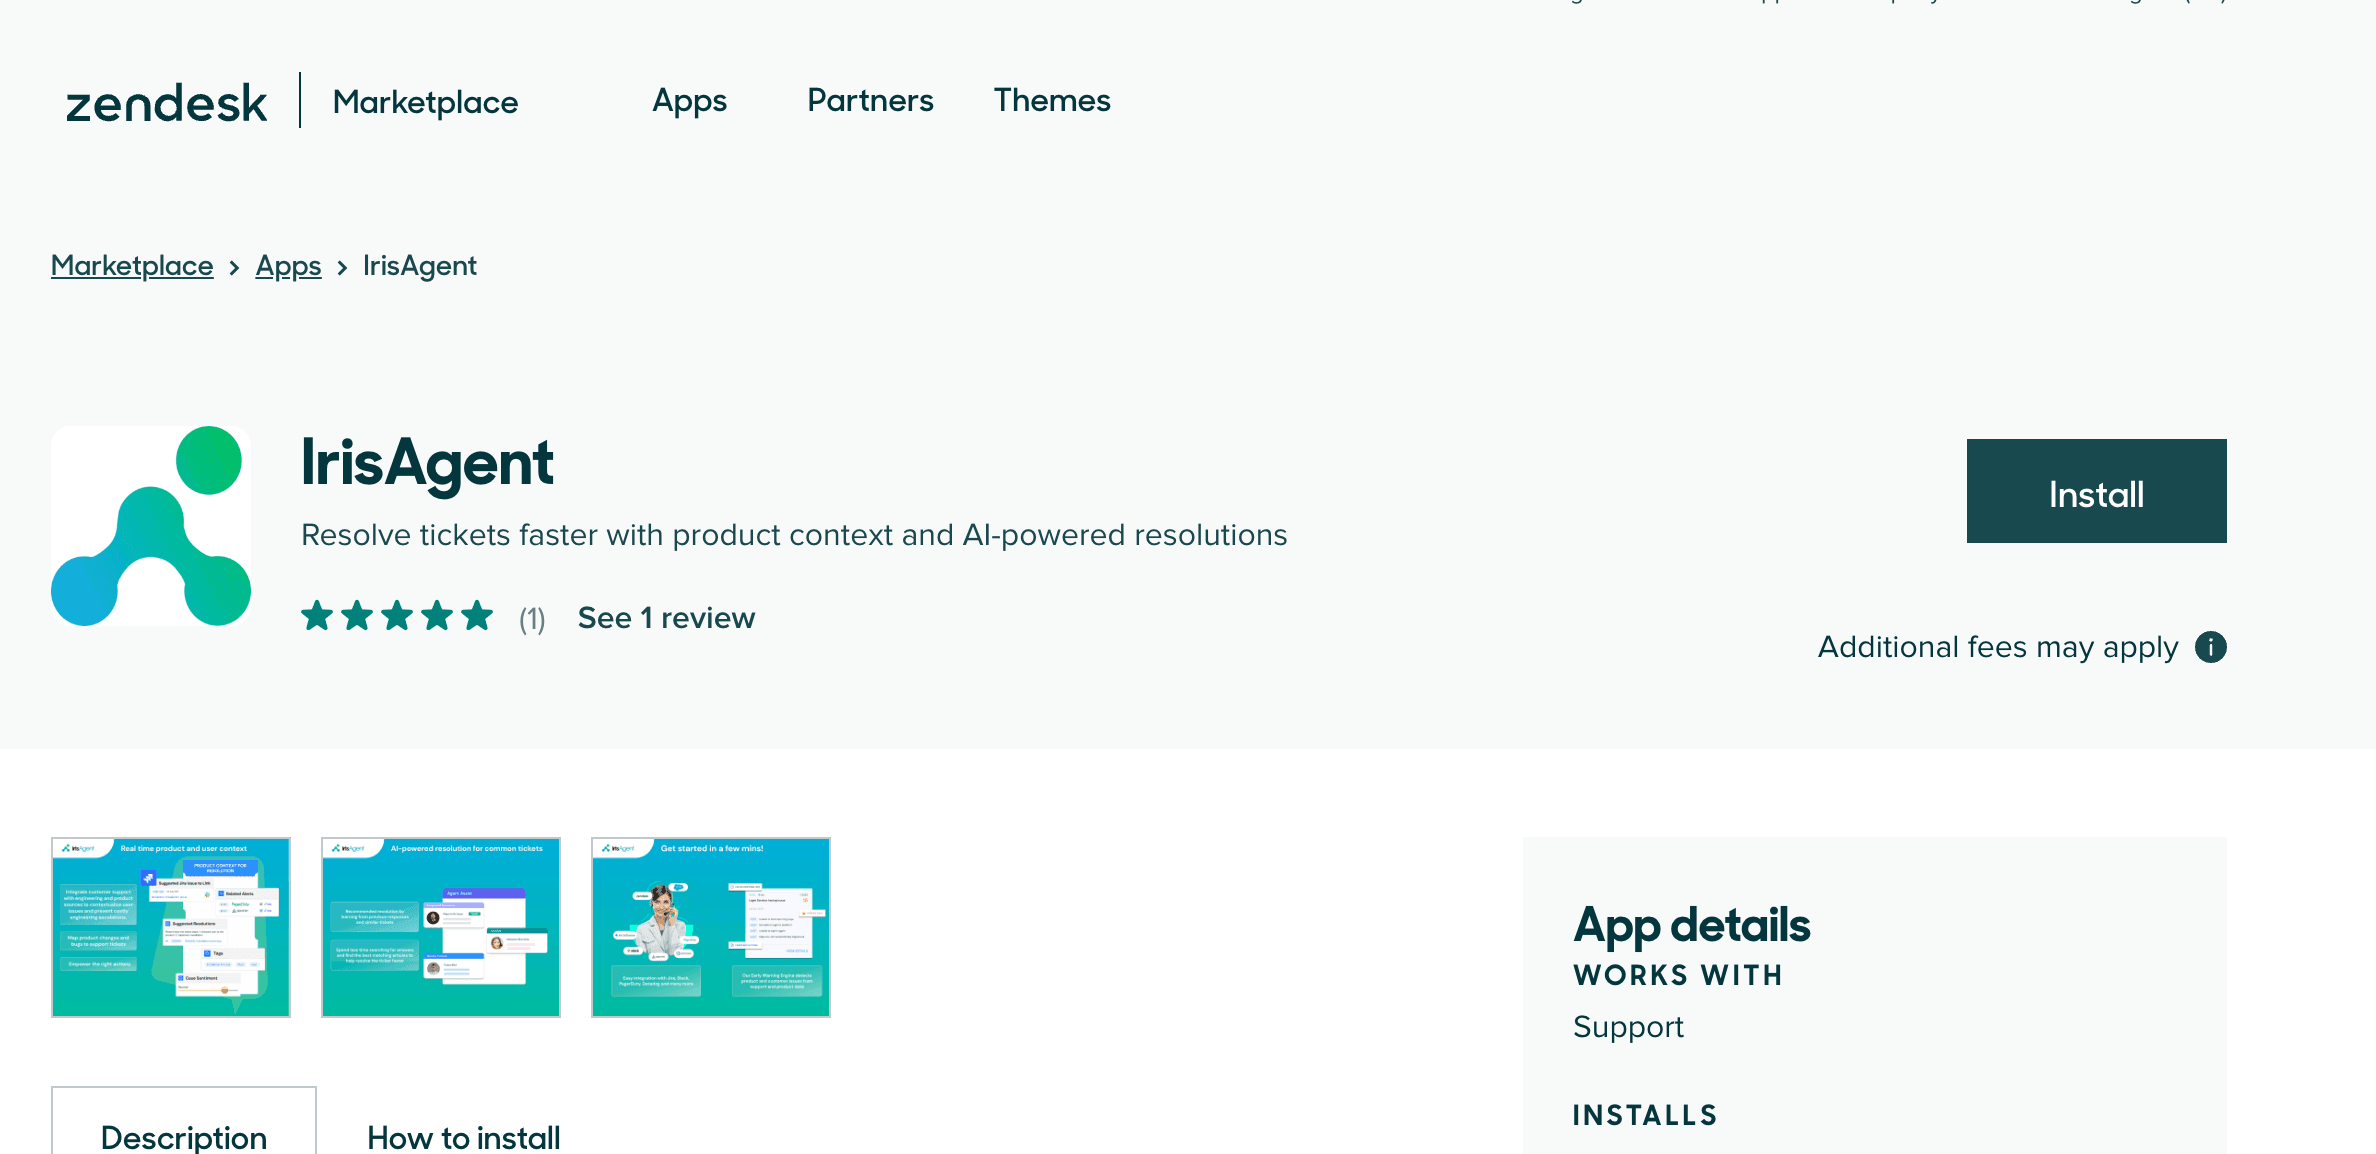
- Navigate to IrisAgent’s listing on the Zendesk Marketplace.
- Click on Install and follow the next steps.
Create tickets from procedures
When Zendesk is your active ticketing provider, Create Zendesk ticket is automatically available in the procedure editor under Actions → Connected actions. It uses this Zendesk connection, so you do not need to provision a separate Custom API or credential. Add the information you want the AI to collect, including a caller email if you need it as the ticket’s requester email, and insert{{Create Zendesk ticket}} at the appropriate step. See Create Zendesk tickets from a procedure for setup, supported requester and subject fields, and a voice answering-service example.