Sign up on IrisAgent Dashboard
- If you are a Salesforce admin, go to the IrisAgent Dashboard and sign in your Salesforce credentials.
- If connecting with a production Salesforce account, please select the Continue with Salesforce option.
- If connecting with a Salesforce Sandbox account, please select the Continue with Salesforce Sandbox option.
- Give the OAuth permissions and click on Allow.
Install the IrisAgent app in Salesforce account
-
Install the IrisAgent app using the installation link for your org type:
- Production or Developer org: Production installation link
- Sandbox org: Sandbox installation link
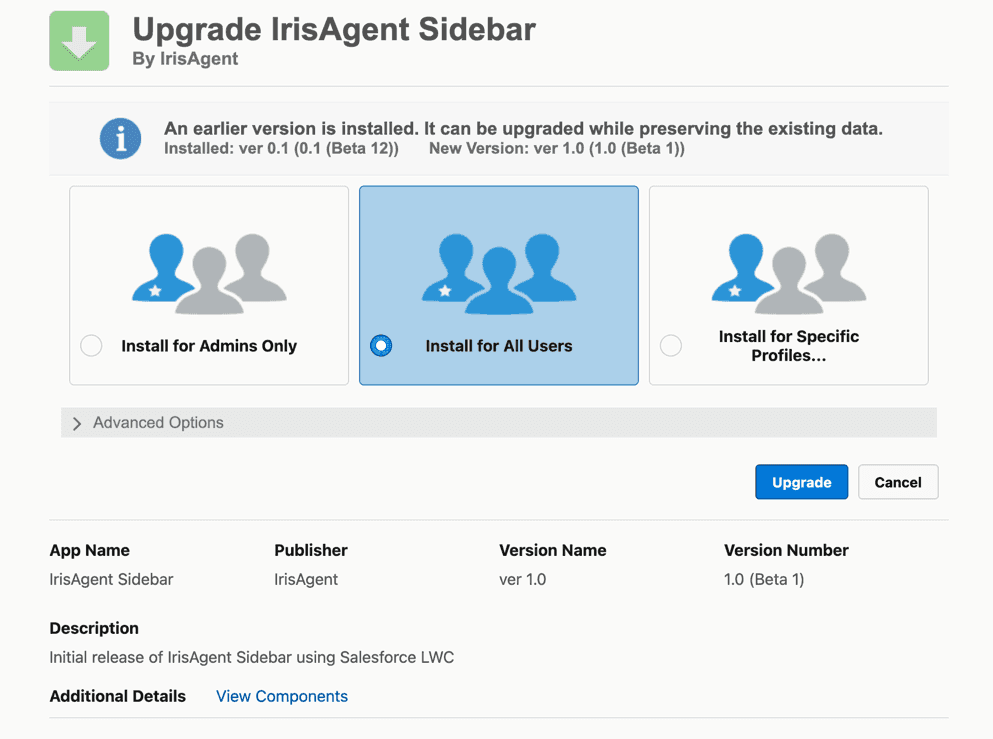
test.salesforce.comlink above, not the production one. - Select the option Install for All Users (note that you can later restrict access to certain profiles). Click on Install after checking the acknowledgment. After installation, click on Done.
Display the IrisAgent app on the Lightning Salesforce case page
- Go to Setup – Object Manager. Search for the Case object.
- Click on the Lightning Record Pages menu option and edit or create a Lightning page.
- Click Edit.
- Select IrisAgent Sidebar and set it to the desired location on the page.
- Click on Save. If a pop box opens, click on Activate.
Share the list of custom fields
Salesforce Service Cloud allows use of many custom fields. We would need those field names to perform data ingestion. Please email the API field names for the following entities at this email address:- Article body in Salesforce Knowledge
- Case priority
- Any other entity for which you are using a custom field, instead of the default standard field that you would like IrisAgent to access
- IrisAgent uses the “api” scope.
- The token obtained after the OAuth flow will have access to all the objects the logged-in user has access. Hence, a separate service user should be created for IrisAgent with sufficient permissions to access the objects required by IrisAgent.
- Below are the objects accessed by IrisAgent